|
In todays lesson, the students continued to transfer designs from their sketchbook to their stamp and to safely use cutting tools to carve their design into the stamp. For safety reasons, students will carve in groups of four in a workshop station setting. Meanwhile, other students with finished stamps began doing tests of the stamping process in their sketchbook.
|
|
|
Essential Understandings
Artists use symbols and stylistic choices to express their identity. Artists practice and combine different materials in their sketchbook to take creative risks for their final project. |
Learning Target
Students will transfer their design from their sketchbook to the rubber stamp and safely use cutting tools to carve out their design. " I can redraw an image from my sketchbook and can safely use cutting tools on rubber stamps." |
|
Art Focus
Students will know:
Literacy Focus
DAY 3 |
Skills
Key Concepts
|
Emily and Nicole's Class
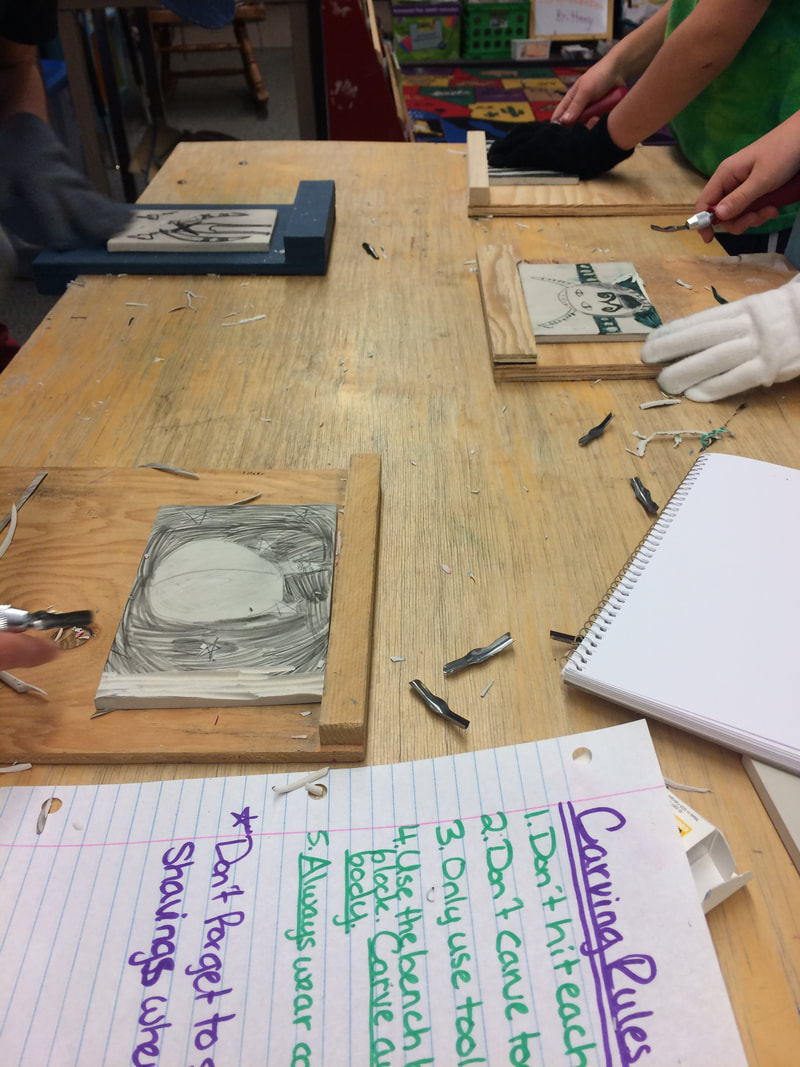
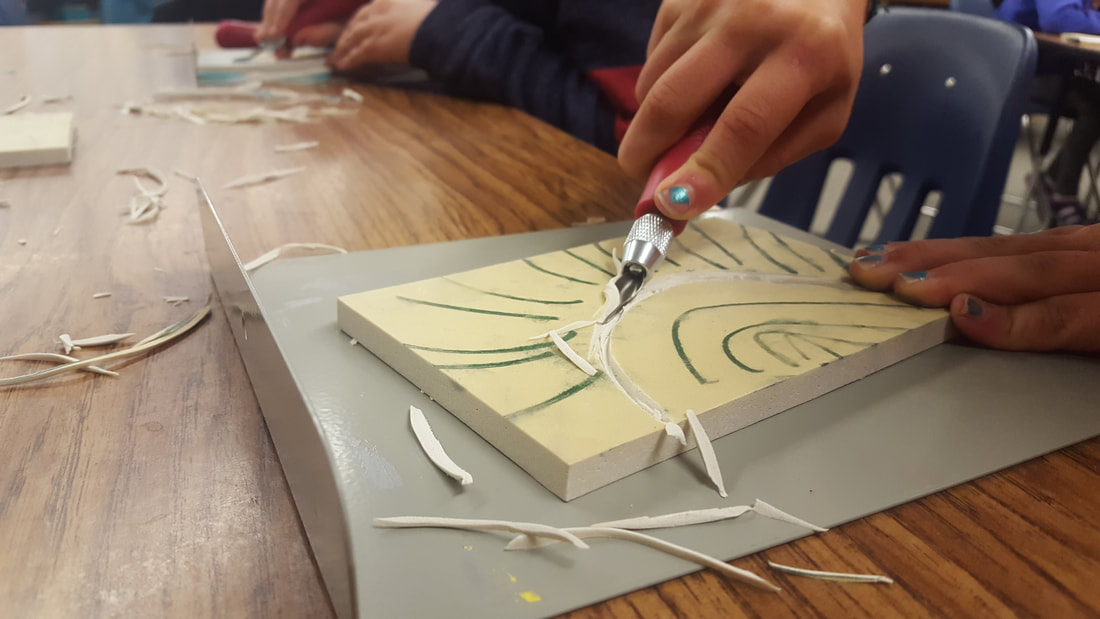
Today was the last workday students had to carve into their stamps before they prepared to ink on Day 4. Since only four students started carving towards the end of Day 2, the rest of the students were split between two workshop tables. Only eight students could cut at a time for safety reasons. Before they could start cutting, students had to color the parts of their design that they wanted to carve away with black marker. While they were waiting, students could either free draw in their sketchbook or complete an activity in How to Be an Explorer of the World by Keri Smith (most students chose the free drawing option because they had more freedom for creative expression).
|
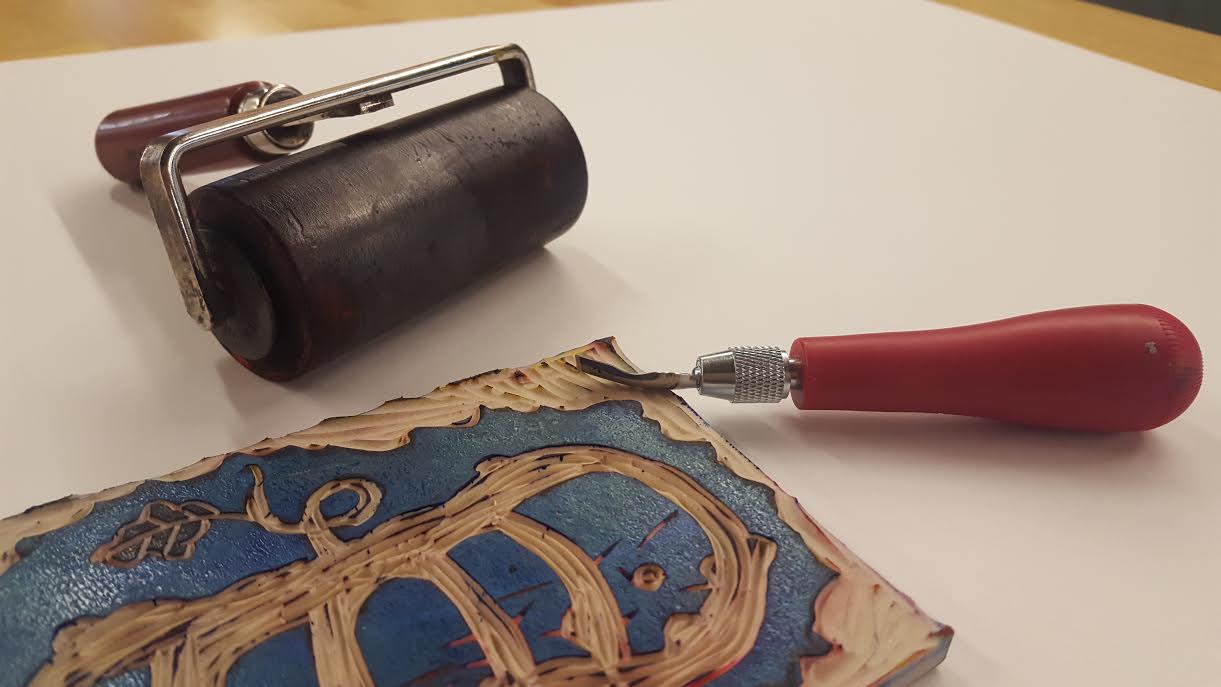
Once students received a run down of the safety rules, they started carving with speed and confidence. Keeping in mind that they only had ten minutes at the carving table to give other students a chance to carve, they were focused and diligent. Line and shape were easy to do in the carving process, but some students attempted to capture texture by using short carving strokes--mostly with grass. Students also learned that gliding the blade slowly through larger surface areas removed more material quicker than short, sporadic cuts. They seemed just as excited about collecting the rubber shavings (or "snakes" as they liked to call them) as they were carving into their stamp. Also, students were supportive and encouraging of each other when they noticed that someone was struggling to carve. When one student expressed frustration about the carving process taking too long, another student suggested that she change the size of her blade to something bigger. "The bigger the blade, the easier it is to carve out longer snakes," the student said, demonstrating for her classmate how to carve a long piece of rubber out of her stamp. The other student's face lit up. "Oh, I get it now."
|
|
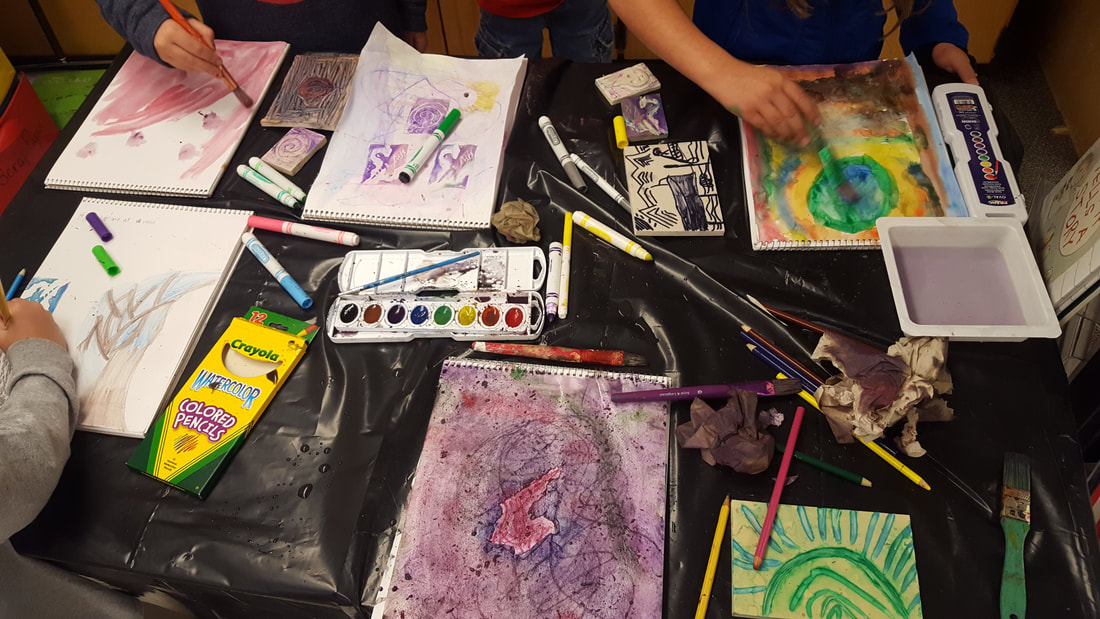
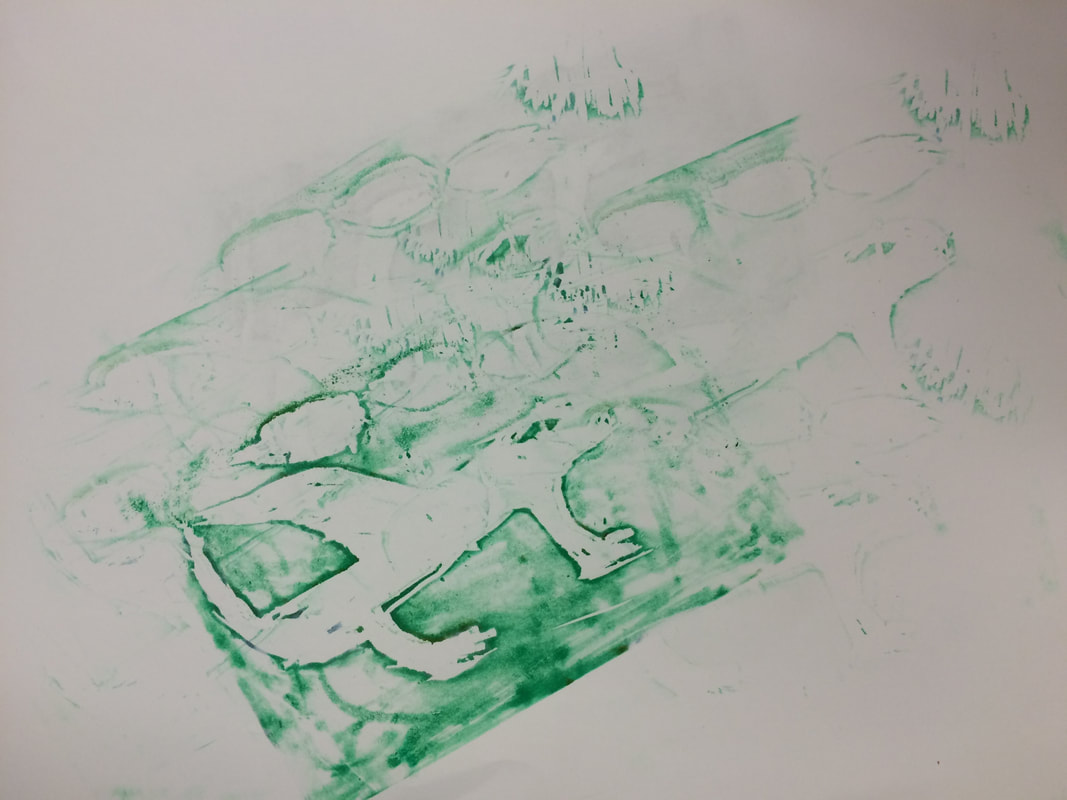
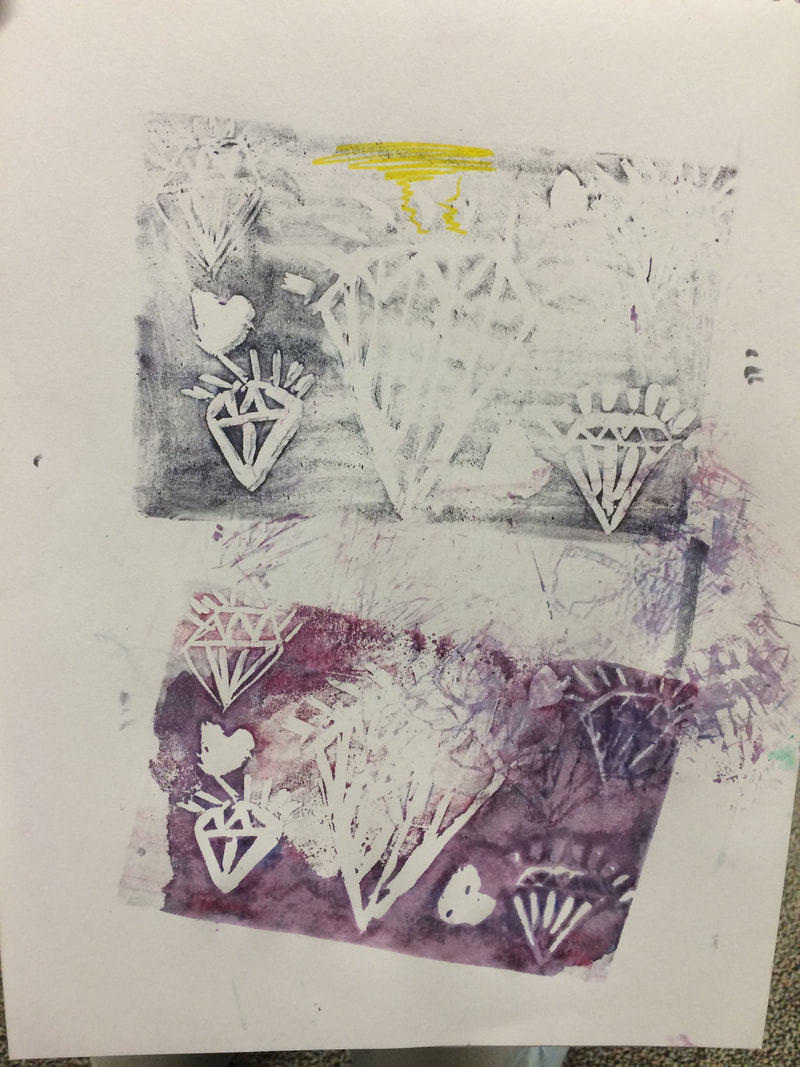
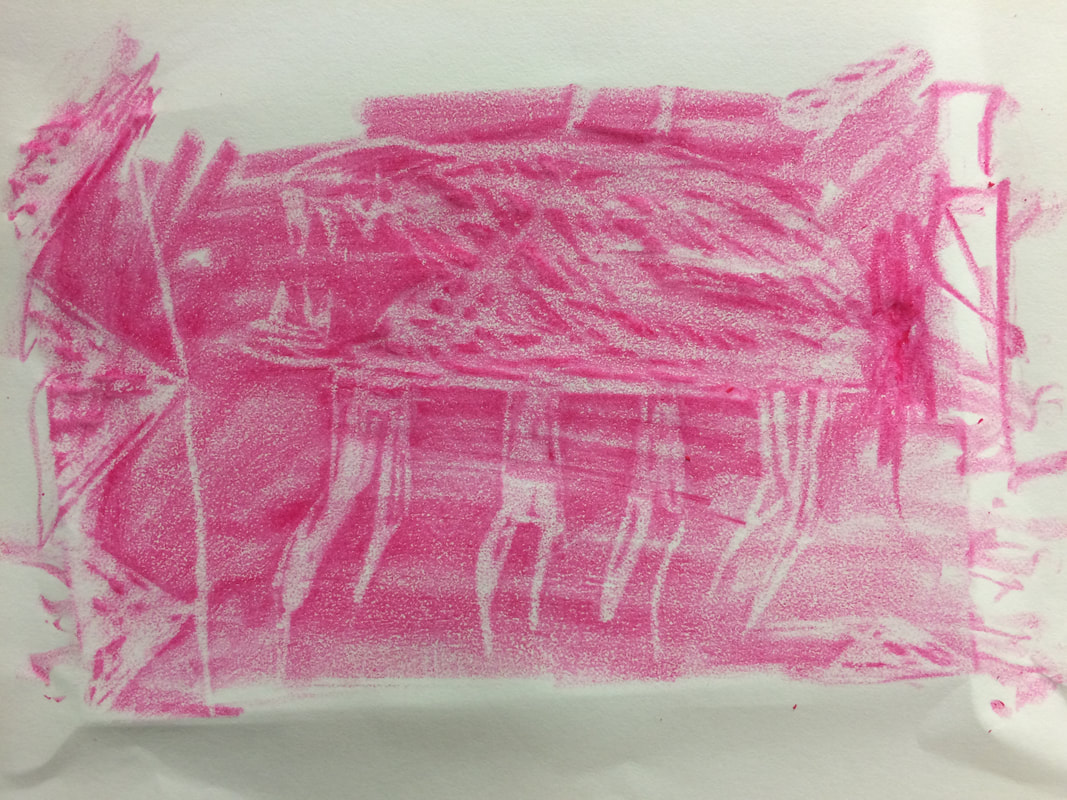
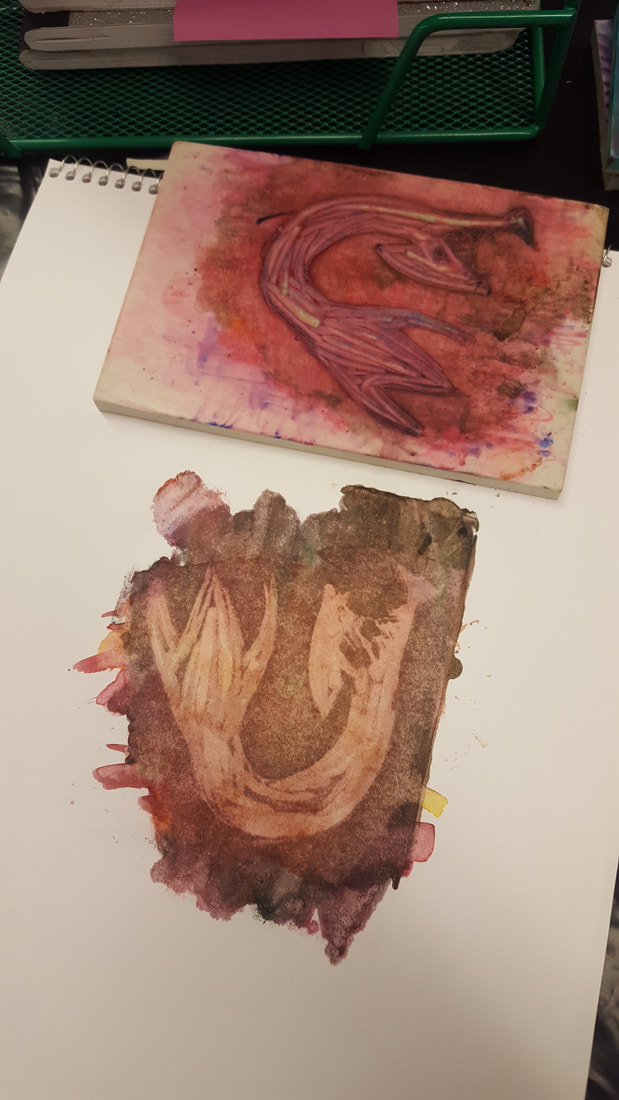
By the end of class, at least three quarter of the students were finished carving and everyone had a chance to start carving. The students that were finished colored over their stamp with markers and pressed them into their sketchbooks. Some students only had time to do one print while others created crisp to hazy patterns. Students also experimented with marbling (using more than one color on the same surface) and using different forms of pressure to get the right kind of print (one student sat on top of his stamp because he felt his hands weren't strong enough). One student experimented with his print by putting sketchbook paper over his stamp and rubbing crayon on top. In contrast to the marker prints--which had a clearly outlined white space where the student carved away material--the crayon rubbing made the caverns of the carving darker. This created a new expressive element for his design that made the student excited to see how his image would look when it was inked.
|
|
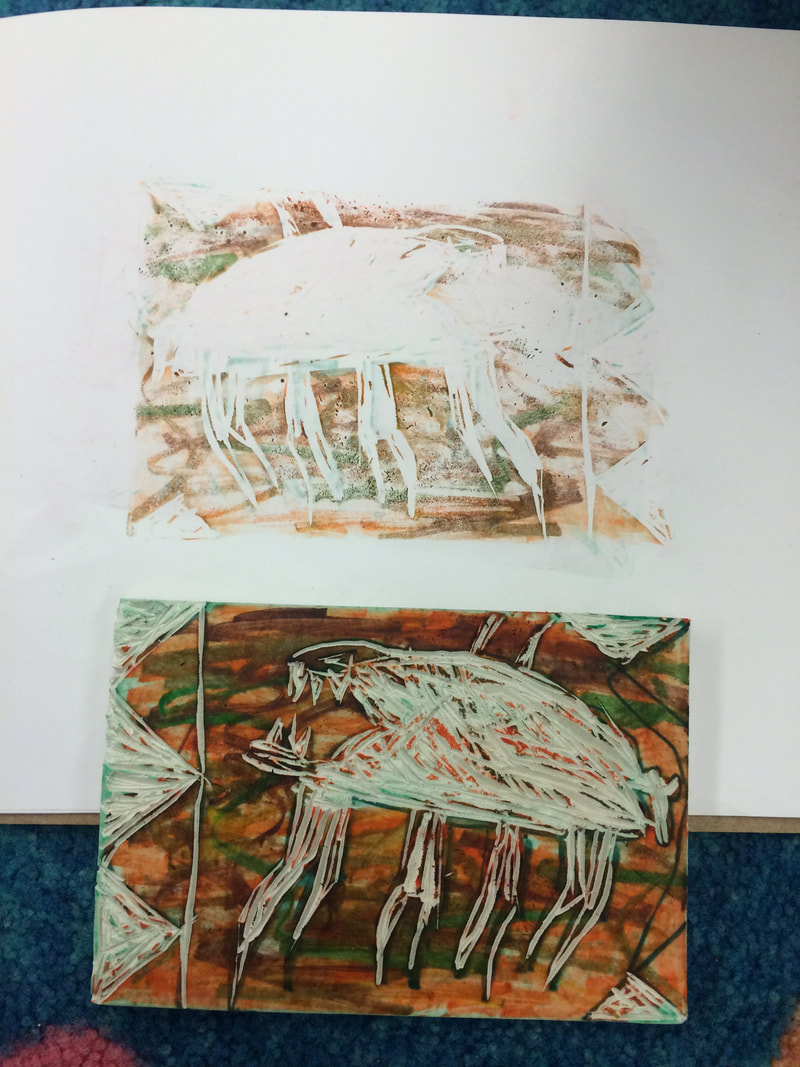
The student with the orange and green print was puzzled when he first printed his design in marker about his print not being dark enough, so I asked him why do you think this happened? He quickly responded that he probably didn't put enough marker on the block! Before I could even respond he was gone and adding more color to his block. He back over to me and showed me the stamp he had just made which was more apparent. He also noticed other students examples and that they were using multiple colors. He asked me "how did she do that!?" Right away this student walked up and quickly told him that she would help him! Above is an example of the multi colored print he created with his classmates help.
Besides a handful of students finishing carving, everyone was ready and excited to start inking for our last day in the lesson. After they cleaned up their supplies, five students were interviewed on how they felt about the carving process.
|
This was a group of four students that worked together at the beginning of class.
|
This was a student that took risks experimenting with materials and wanted to talk about it for the blog.
|
Tamara's Class
Class began with similar enthusiasm to the previous weeks class, but this time there was more for a student to do. If they still needed to cut, they could, but if they were finished they were now able to try their own finished stamps and experiment with the finished process.
Immediately, students began to question what they could put onto the stamps to make images. They were asked about what they thought it needed to be and answered " Paint! Sticky stuff! Wet stuff!" From there, a brief discussion followed where it was explained how the "ink" for their stamp needed to be wet and have color. Students immediately set to trying out markers, watercolors, and even water soluble chalk.
Immediately, students began to question what they could put onto the stamps to make images. They were asked about what they thought it needed to be and answered " Paint! Sticky stuff! Wet stuff!" From there, a brief discussion followed where it was explained how the "ink" for their stamp needed to be wet and have color. Students immediately set to trying out markers, watercolors, and even water soluble chalk.

Meanwhile, more students continued to cut and finish their stamp. When they initially sat down to try cutting, most were intimidated. But after watching peers working with the cutters and trying the tool on the test block, they were able to gain confidence and proceed forwards. The best advice on how to use the cutter tools was phrased as " It's a pizza cutter, not a fork. You gotta make it slide 'cause if you just stab it nothing happens." The pizza cutter metaphor quickly became part of the standard briefing as new students arrived for their turns.
Once finished, students would waste no time in trying out their stamps. Many became interested in adding into the stamped images. After a print, they would use watercolor and markers to go back over the shape. One student said that " Its really cool because I can get the drawing started over and over, but I can draw it different every time!" They had created a sunrise design and transformed the prints into sunrises in the winter, during storms, and in space.
Having seen a demonstration of a stamp loaded with ink paint in the first class, most were excited to try that process. They were somewhat disappointed for to learn that stamping with ink paint would happen the next week, at least until they found out that part of the process was to make several copies of their stamp that they could take home or give to their friends. " You mean like trading cards!?" was immediately shouted by one student - and within a minute, most were planning how many copies of their stamp they would make and who they would give them to.