|
In todays lesson, the students complete the stampmaking project by using their stamp with ink paint. This will conclude the first unit of the semester, so a short and informal group discussion will be held on the process of stampmaking, their experiences, and the final results.
|
|
|
Essential Understandings
Artists use symbols and stylistic choices to express their identity. Artists practice and combine different materials in their sketchbook to take creative risks for their final project. |
Learning Target
Students will use ink paint and their stamps to make single layer and multi-layer prints. " I can use my rubber stamp to make multiple stamped images." |
|
Art Focus
Students will know:
Literacy Focus
DAY 4 |
Skills
Key Concepts
|
|
Emily and Nicole's Class
The last day of printmaking started with a little bit of excitement and nervousness for the students. On the one hand, they would be rolling ink onto their stamps and printing them onto colored paper. But for the eight students that still needed to carve, they wondered if they would have enough time to finish their plate and ink at the same time. With a can-do attitude and an engaged sense of curiosity, the students jumped straight into the action and committed to working diligently to see the project through. Because of this mindset, six out of the eight students were able to finish carving their stamps with enough time to learn how to ink. They helped each other make swift problem-solving decisions while the teachers were busy helping students ink. |
|

|
One student in particular (Student A) was struggling to figure out how carve texture into her mountains to make them more engaging. Her classmate, Student B, pointed out the short, quick, and thin blade strokes she used on her plate to convey the spiny texture of her pine tree. "If you do short strokes and don't dig down deep into the plate, you'll get good texture," Student B said, having Student A feel the texture of her stamp with her finger. Student A's face lit up. "Oh, I get it. I'll try that out." Thanks to their teamwork efforts, the students carved confidently into their plates, feeling less afraid to take risks. They also decided to do relief coloring over their stamps with crayon to see how their print would turn out before inking. "I'd rather color with crayon," one student said. "When I colored my stamp with marker, it would dry before I pressed it onto the paper. I couldn't see how the picture would look." |
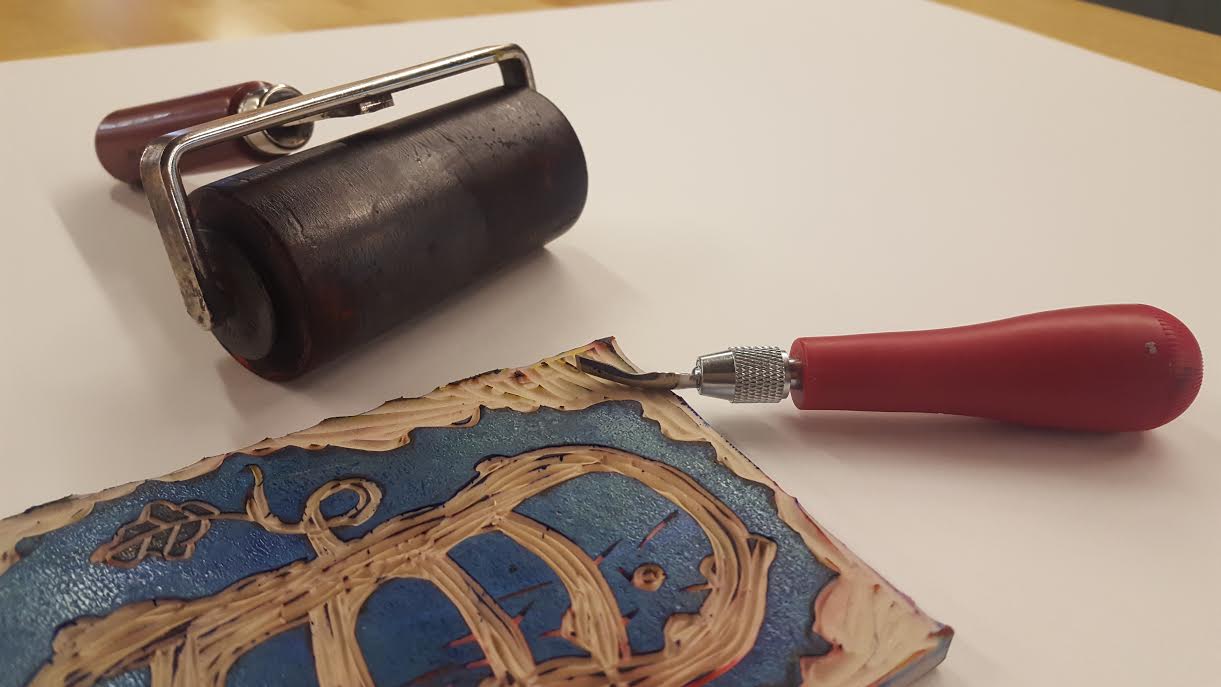
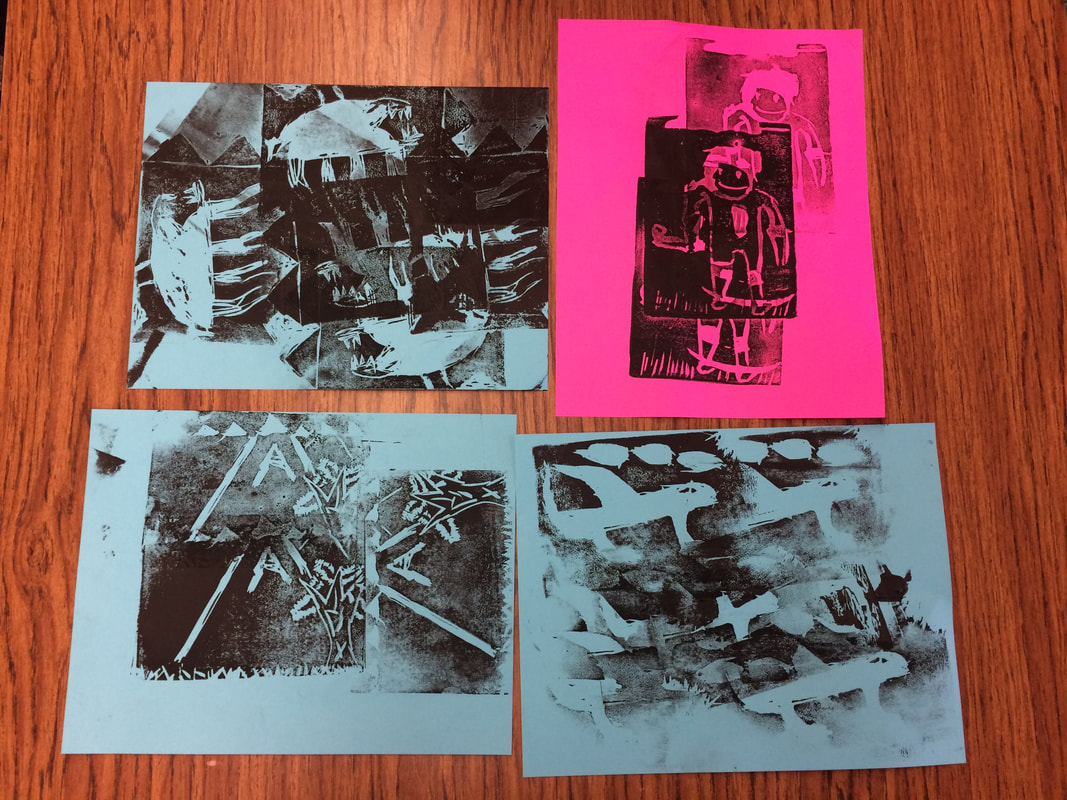
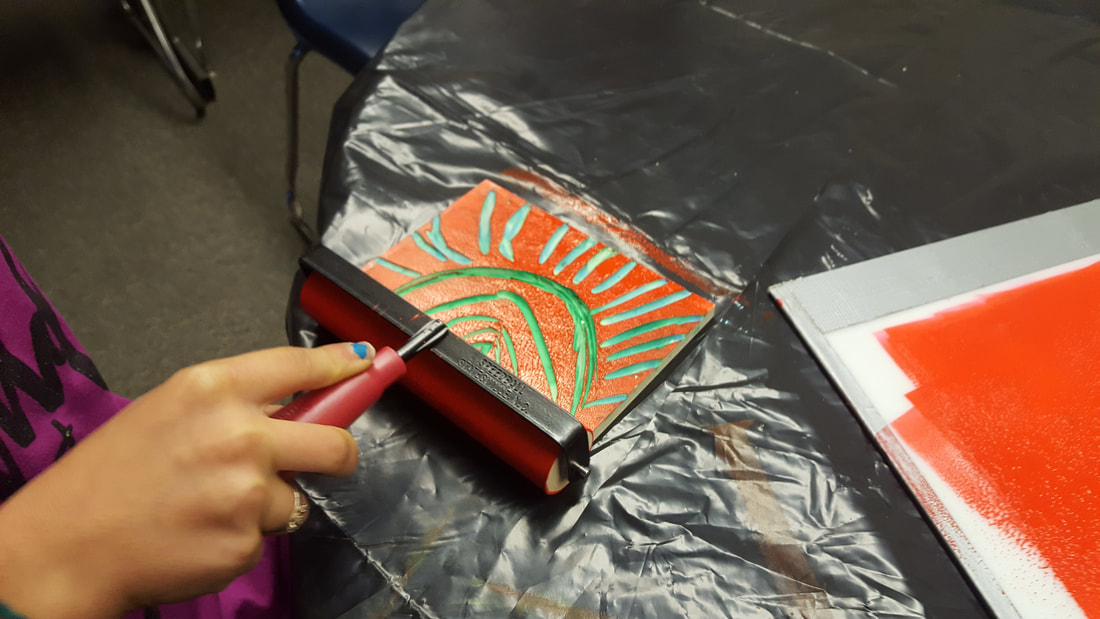
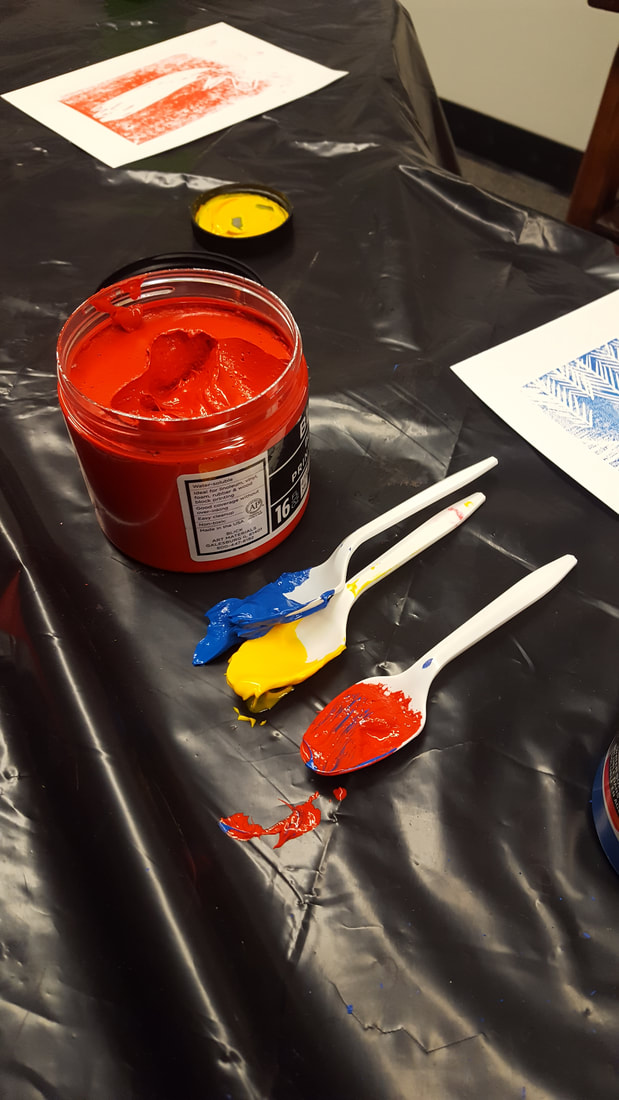
Students that began to ink understood that there was a very particular system that they had to follow if they needed a successful plate. One scoop of ink on a plastic spoon was enough to make at least three solid prints if it were spread out on the palette with a brayer. Rolling the brayer horizontally and vertically multiple times made sure that the ink was able to cover the entire plate. But what was the best way to make a solid print? Some students used their hands while others used books. One student decided to sit on top of his stamp, thinking that lots of pressure would get a solid print. But the more prints that students did, the more they realized that each print would look just a little different no matter how much pressure they put onto their stamp. That's how they learned what a mono print was.
|
|
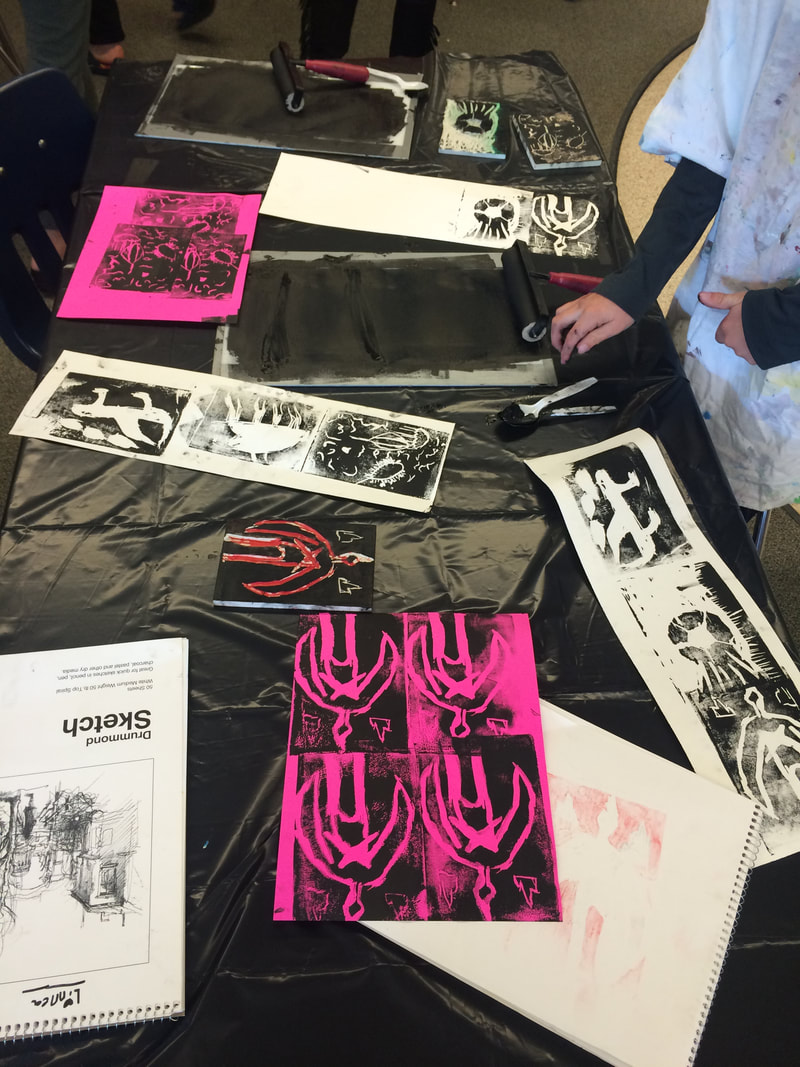
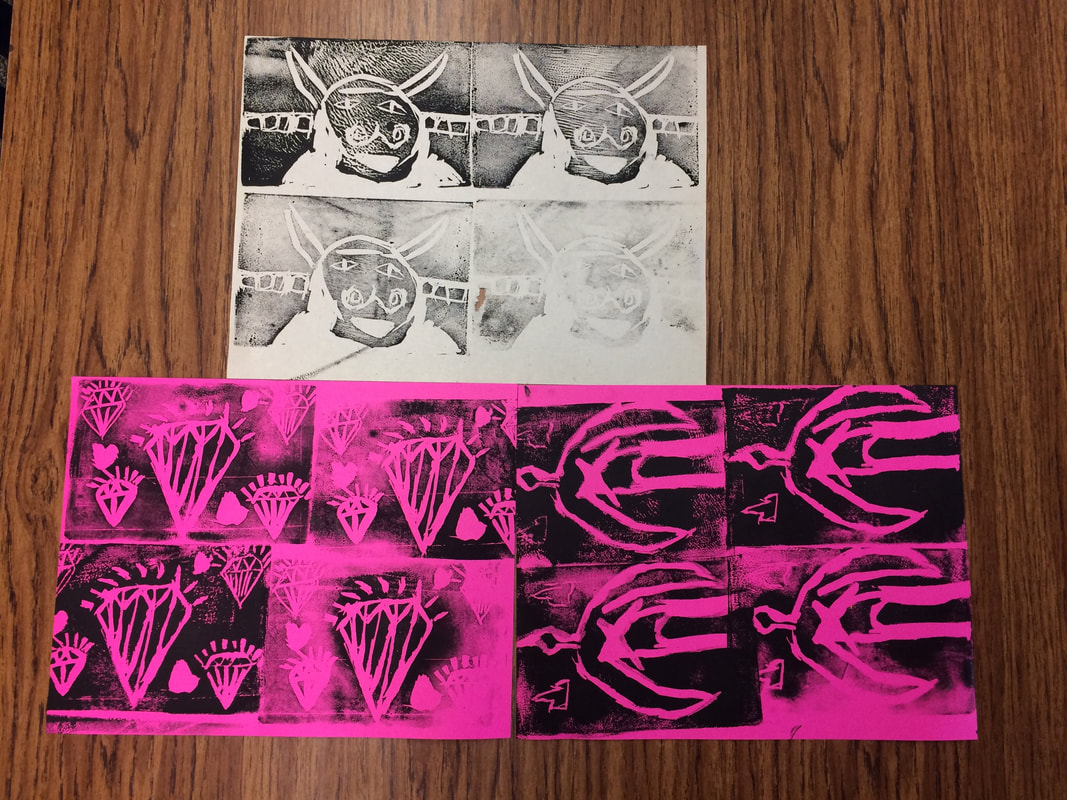
The first time students printed on colored paper, they stacked their stamp in a brick pattern sequence so that each new print could be seen clearly on one sheet of paper. "But what would happen if we tried to stamp on top of our other prints?" One student asked Emily. Hearing that question, another student decided to try it out. He discovered that by layering his prints, especially when he used less ink, he created expressive ghost images that made his yeti on a skateboard look like it was moving across the page--almost like an animated movie. A few of the other students caught wind of this idea and decided to try it out. "I guess there's more than one way to make patterns with stamps," another student noted to Nicole when looking at the brick prints versus the layered prints.
|
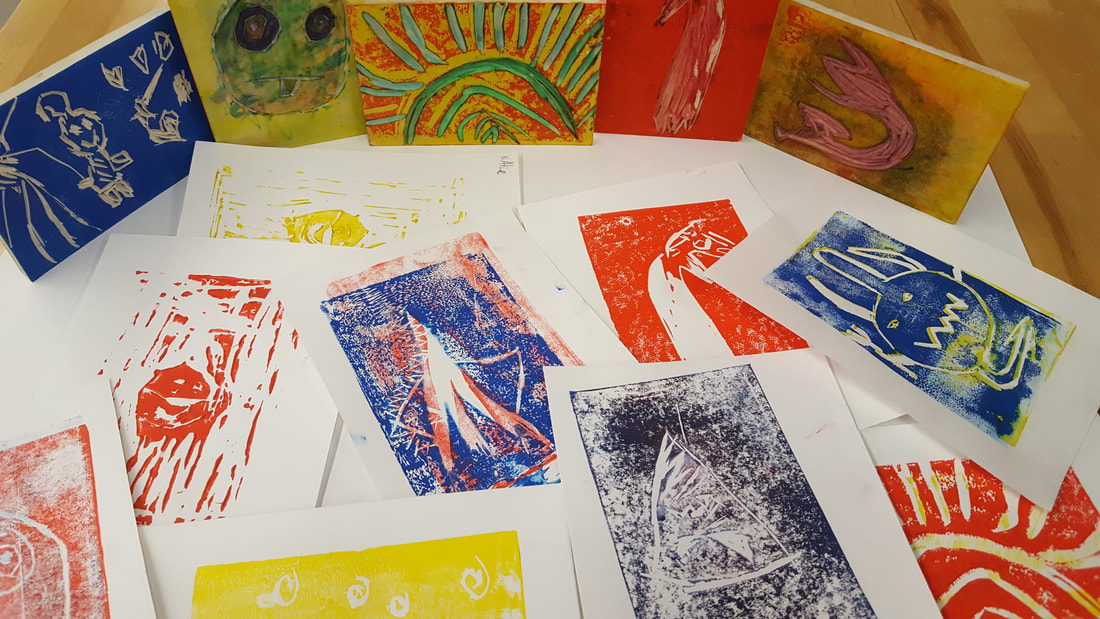
When the students were finished stamping onto colored paper, they collected each other's stamps and made a sequence of illustrations onto a long strip of white paper. "It's kind of like collecting Pokémon cards," one of the students said. Indeed, students were excited to see how their classmates' stamps turned out, and they wanted an opportunity to see how they would look when they tried to print on their own paper. |

|
With twenty minutes left in class, students washed off their stamps, brayers, and palettes with soap and water. They noticed that they all couldn't clean their supplies off in the sink at the same time, so they problem-solved by going to the bathroom sink next to the classroom--even using the drinking fountain! Emily, Nicole, and Brittany weren't too pleased about that, and the students were quick to apologize. But it was clear that the were able to efficiently work thanks to a good dose of problem-solving and teamwork.
|
One student was able to sneak in a quick interview with Nicole before she went off to recess. She was overall pleased with the way her prints turned out, but she also did a fair amount of problem-solving during the process.
|
|
Tamara's Class
The final day of the stamp project arrived with a degree of fear and a lot of excitement. Some students were more than ready to print, some didn't want to in case it came out poorly, and some just wanted to draw in their sketchbooks. But every single student stepped up and printed with their stamp - and were almost all happy with the results.
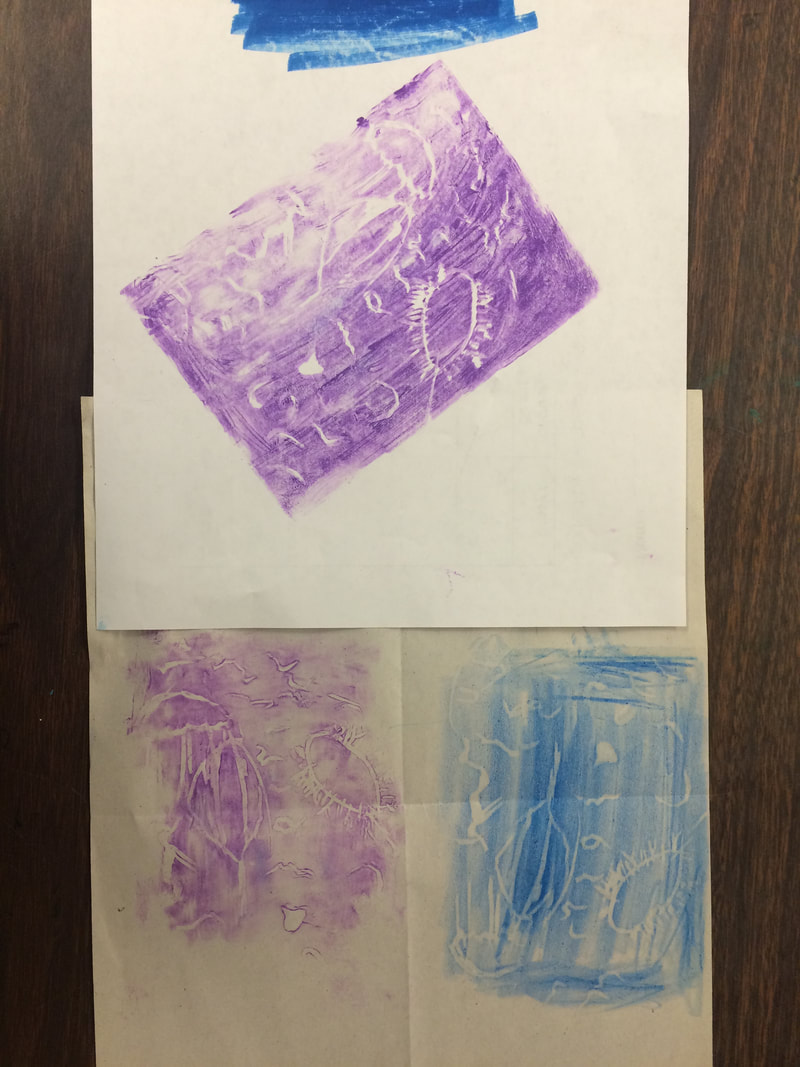
" If I put blue on the yellow will it become green?" During the activity the students were thinking about how the process worked and could be expanded on. They knew that you could mix the primary colors into secondary colors and wondered if that would happen during stamp making. When one student tried the layering and it didn't work, they were asked why the colors hadn't mixed - and immediately answered with " Wait, the paint was already dry!" This quickly lead to a student mixing the paint and trying to make purple with some success.
After making their stamped images, the students worked in their sketchbook or experimented with drawing onto the stamped pictures.
After making their stamped images and cleaning up, the class was brought together for a group discussion. The video below includes a recording of their thoughts on their work and the process of stamp making.
