|
Day 2
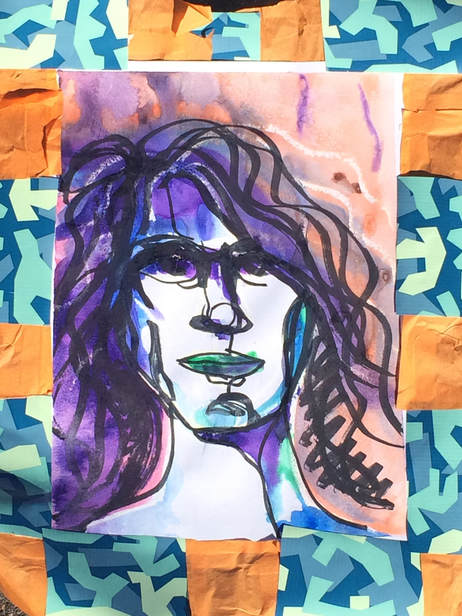
In this lesson, students will create stylized and thematic self portraits and attach them into a cohesive piece. This will allow students to explore their personal interests, observe their classmates interests, and see how they fit together as a group. Using pen, watercolor, their personal stamp, and scissors, they will create images of things they like, attach them together by theme, and work together to finish a single artwork. This will allow them to develop craft with basic tools, reflect on the intent and purpose in the design in others work, and envision how community effort can create a greater artwork than individual effort.
Essential Understandings
Artists can use symbols and stylistic choices to express their identity in making collaborative works of art. Learning Target
Students will make a portrait of their table partners in their sketchbook using colored pencil and oil pastel. " I can draw my table partner's face in my sketchbook using graphite, colored pencil, and/or oil pastel." Art Focus
Students will know:
Literacy Focus Students learned the definitions of portrait and mixed media. |
Skills
Students will be able to...
Key Concepts
|
|
Emily and Nicole's Class
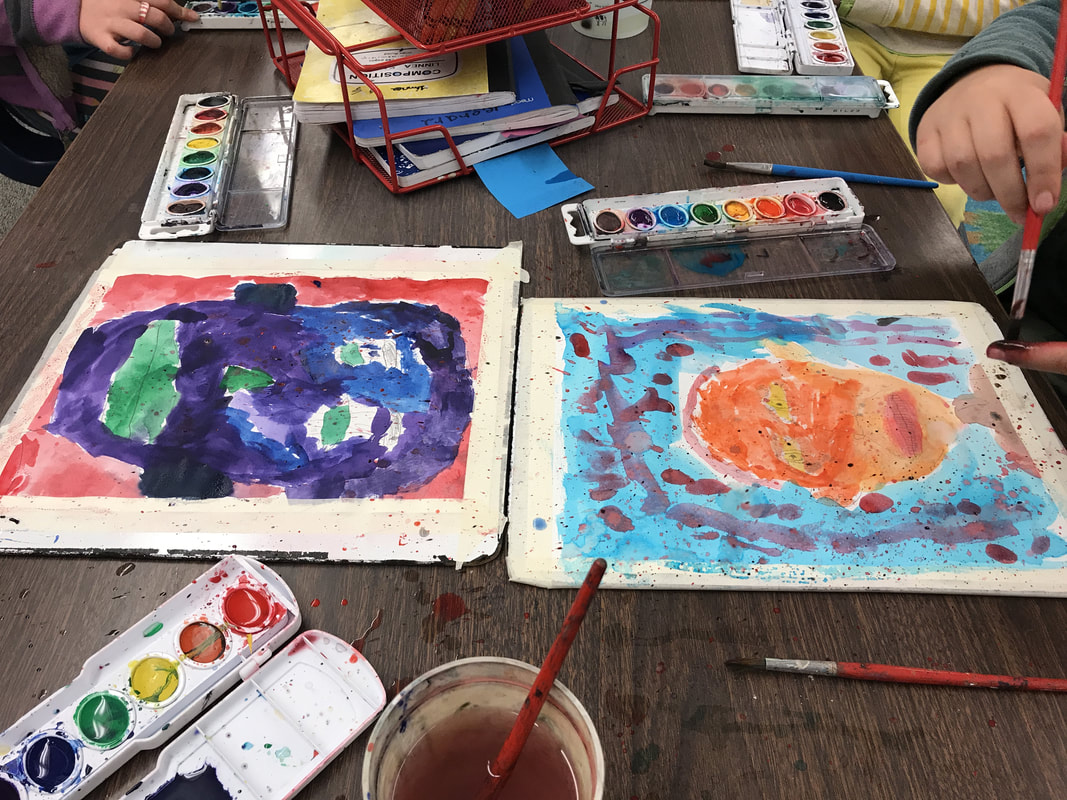
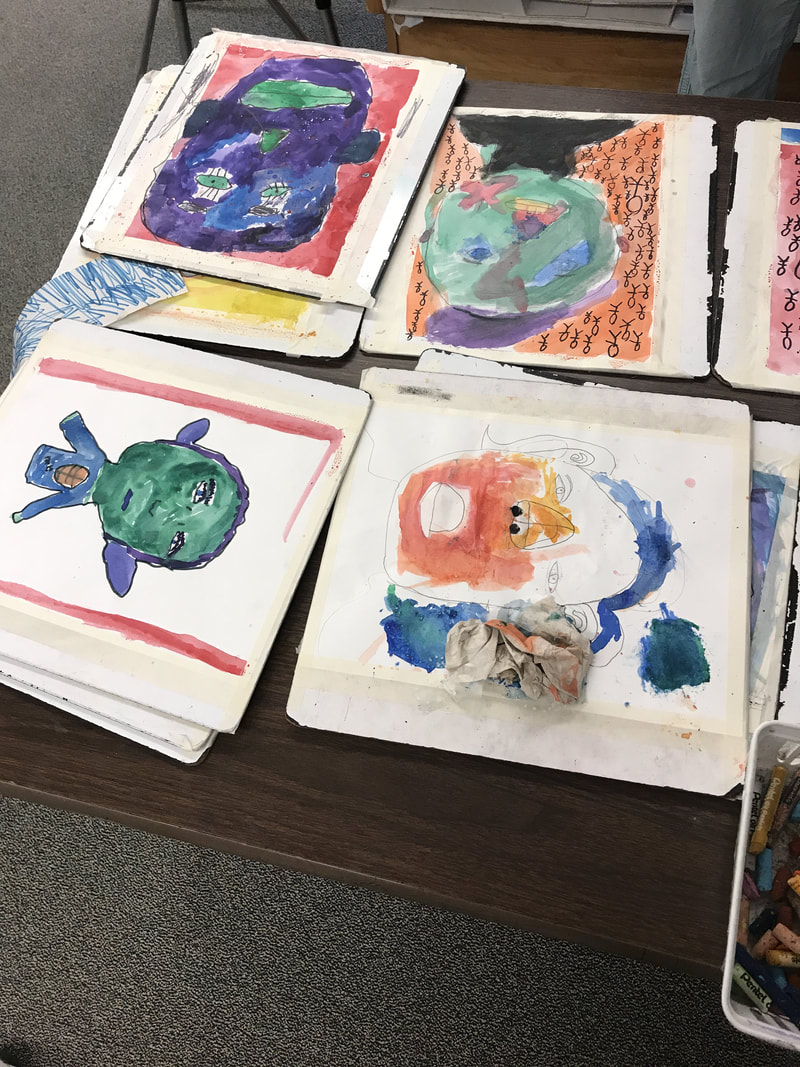
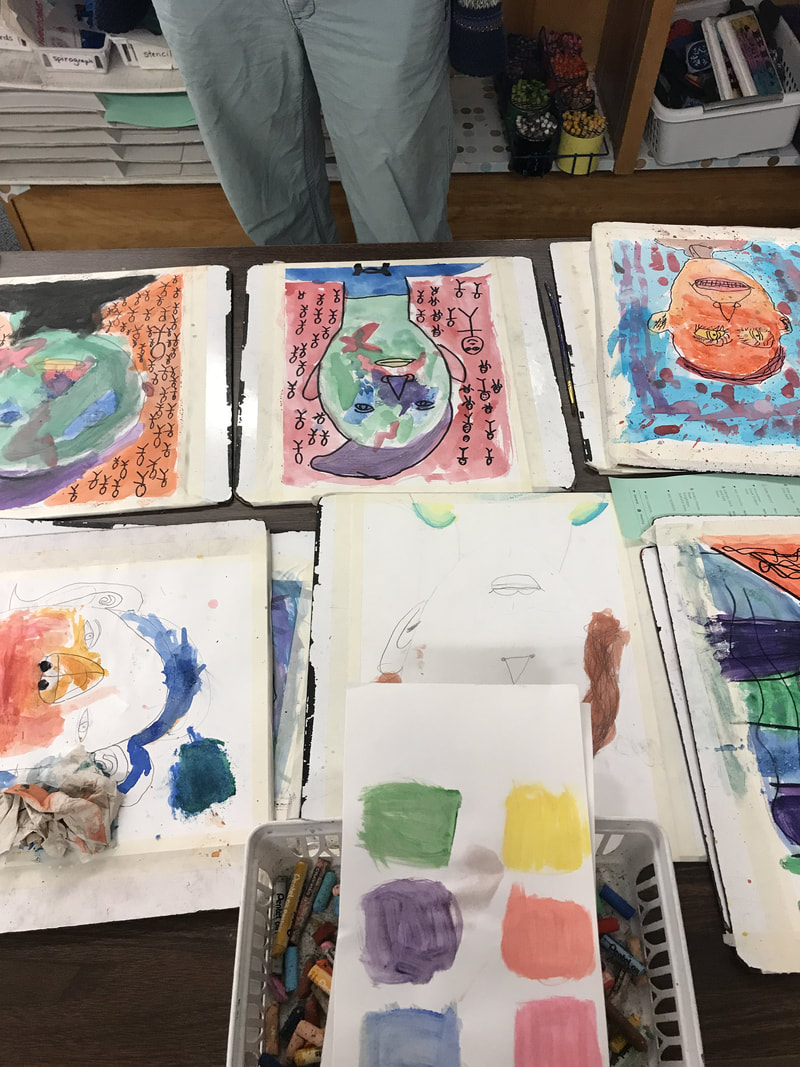
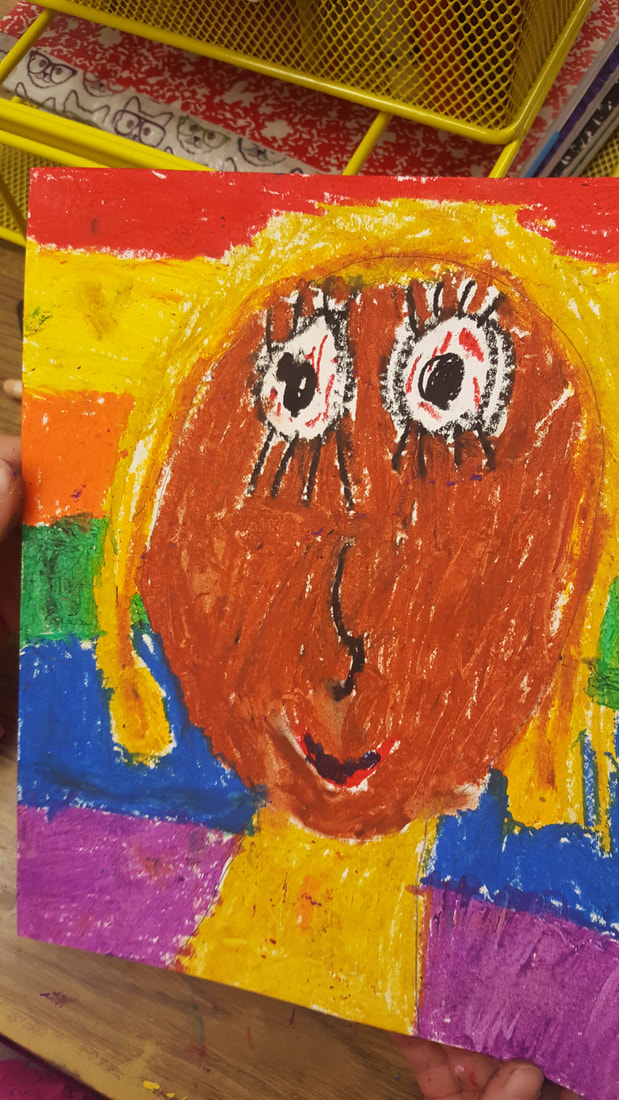
After two days of ideation and meticulous sketching the students were finally able to experiment expressive marks and techniques with water color using a warm and cool color scheme. Nicole and I had them use these color schemes and mark making to convey and emotion. It was evident that students did use these color schemes and watercolor techniques to covey an emotion or create emotion. After asking several students about their color schemes I got the following responses to show that they were understanding and applying this concept. " Today I am not feeling very happy so I used warm colors especially red on my face to show that I am angry, and I also started flicking my paintbrush to get messy splatter marks because I am angry."
" My partner said she was sad today so I used blue, green and purple to show that she was sad, she also likes the color blue."
"I used squiggly lines in my background with green, blue and purple those lines are calming, I am sad today those colors make me feel calm and sometimes sad."
" My partner said she was sad today so I used blue, green and purple to show that she was sad, she also likes the color blue."
"I used squiggly lines in my background with green, blue and purple those lines are calming, I am sad today those colors make me feel calm and sometimes sad."
Tamara's Class
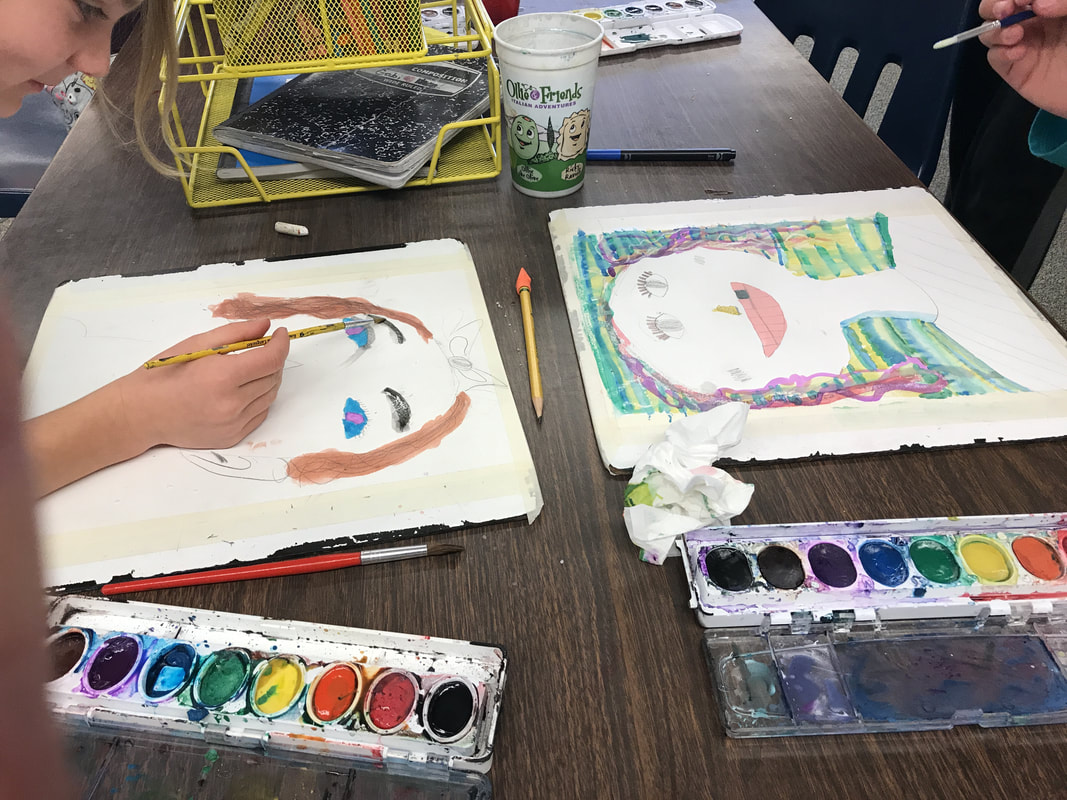
With the Halloween spirit out of their heads, students came to art both calmer and more focused than last week. The class started with a brief recap of how to draw a portrait in the classes words. The first set of instructions was, "Draw an egg and add eye....um, then hair.", but after some discussion among themselves it turned into " Draw a circle, then find where your eyes and nose go, put your ears and hair on, give yourself lips, make sure your chin is the right shape, figure out if your nose is pointy or curved, and then color things." This was all something they understood, but before they had not known how to explain. A list of steps was made from the discussion and displayed while they worked.
With the Halloween spirit out of their heads, students came to art both calmer and more focused than last week. The class started with a brief recap of how to draw a portrait in the classes words. The first set of instructions was, "Draw an egg and add eye....um, then hair.", but after some discussion among themselves it turned into " Draw a circle, then find where your eyes and nose go, put your ears and hair on, give yourself lips, make sure your chin is the right shape, figure out if your nose is pointy or curved, and then color things." This was all something they understood, but before they had not known how to explain. A list of steps was made from the discussion and displayed while they worked.
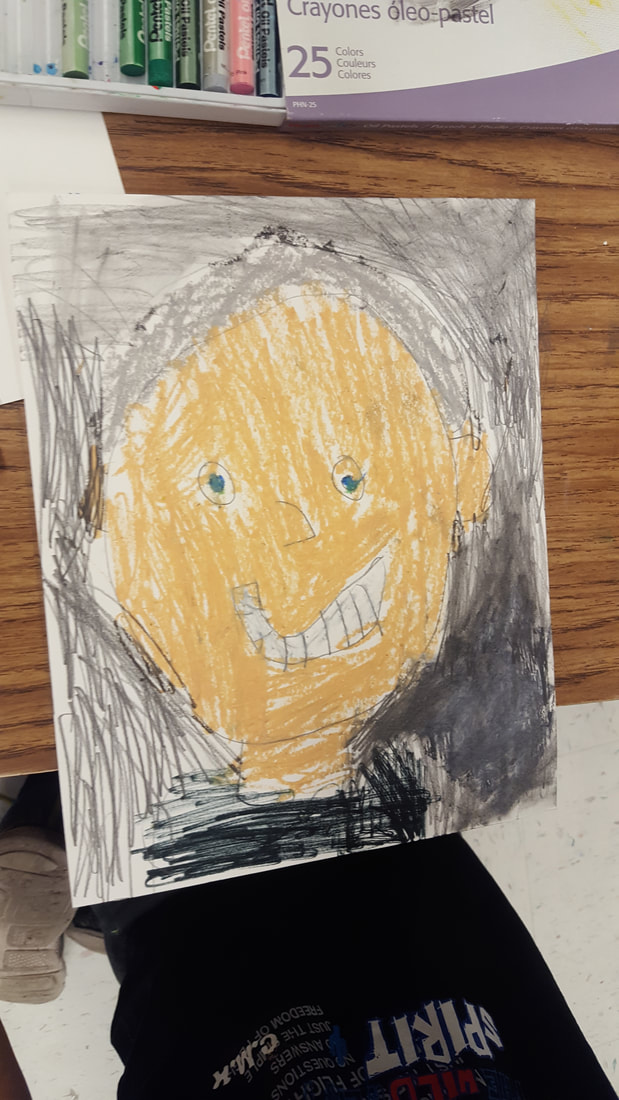
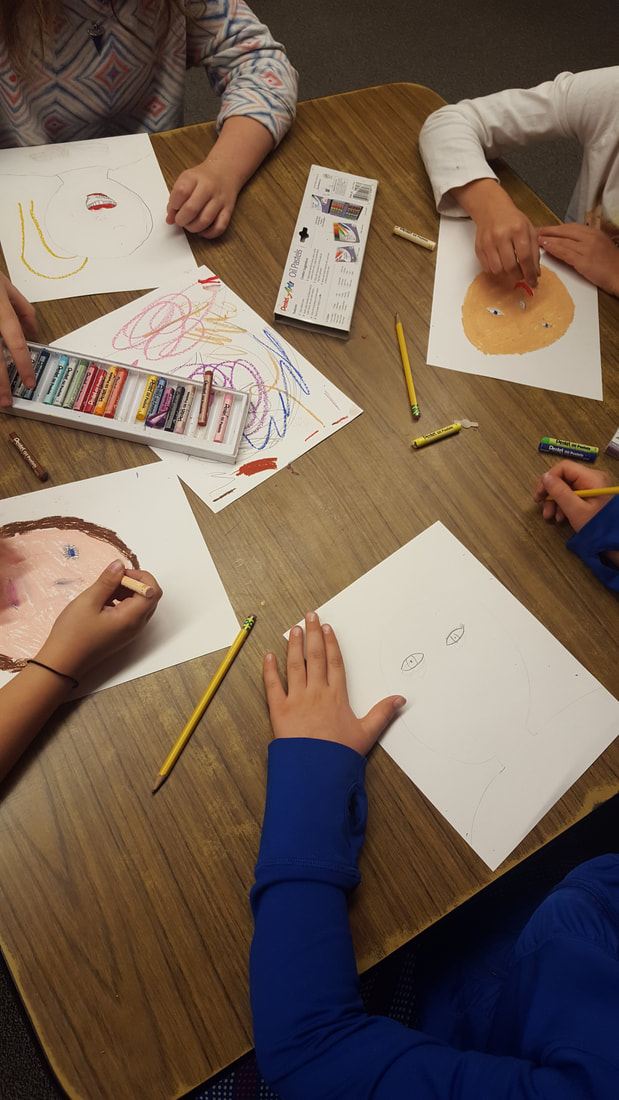
While the previous week had indulged the expressive and creatives part of their minds more, this week they work working with focus and a technical eye. " I put my eyes to high again, I keep doing that." mentioned one student. When asked how she knew they were too high, she explained that "My eyes are actually in the center of my face because I measured with my finger. My eyes are a finger away from my chin and from the top of my forehead. Um, I keep putting my eyes like where my eyebrows should be." This simple measuring strategy became used by her peers at her table.
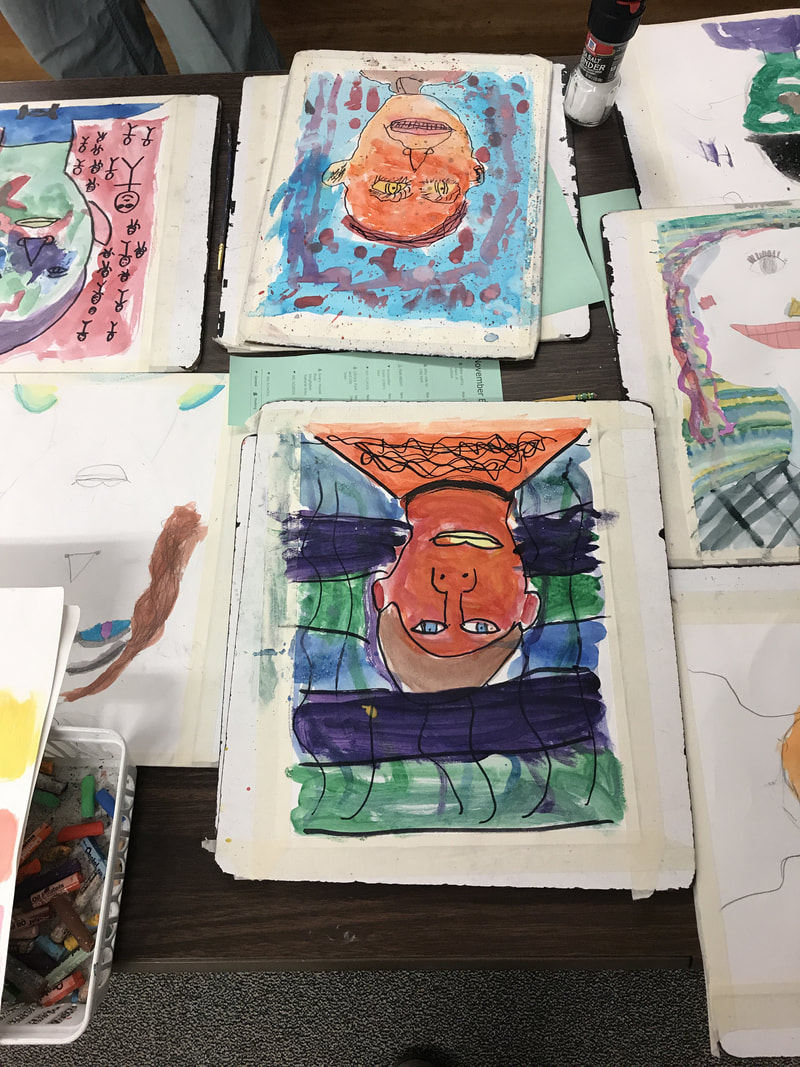
Some students chose to go with some unrealistic elements on purpose. One student wanted to look more like his father, so he put his eyes lower so that he would have a larger forehead. Most of these choices were overall small alterations, mostly keeping to the theme of a self-portrait.
Some students, such as the one featured in the video below, had a very strong grasp of how to construct a face. While the level of skill varied in the class, all students could explain the basics of the steps and all could recognize when elements and sections were not present - though they would not always include all elements and sections in their own art.
